Analyses and Quality Assurance in Additive Manufacturing
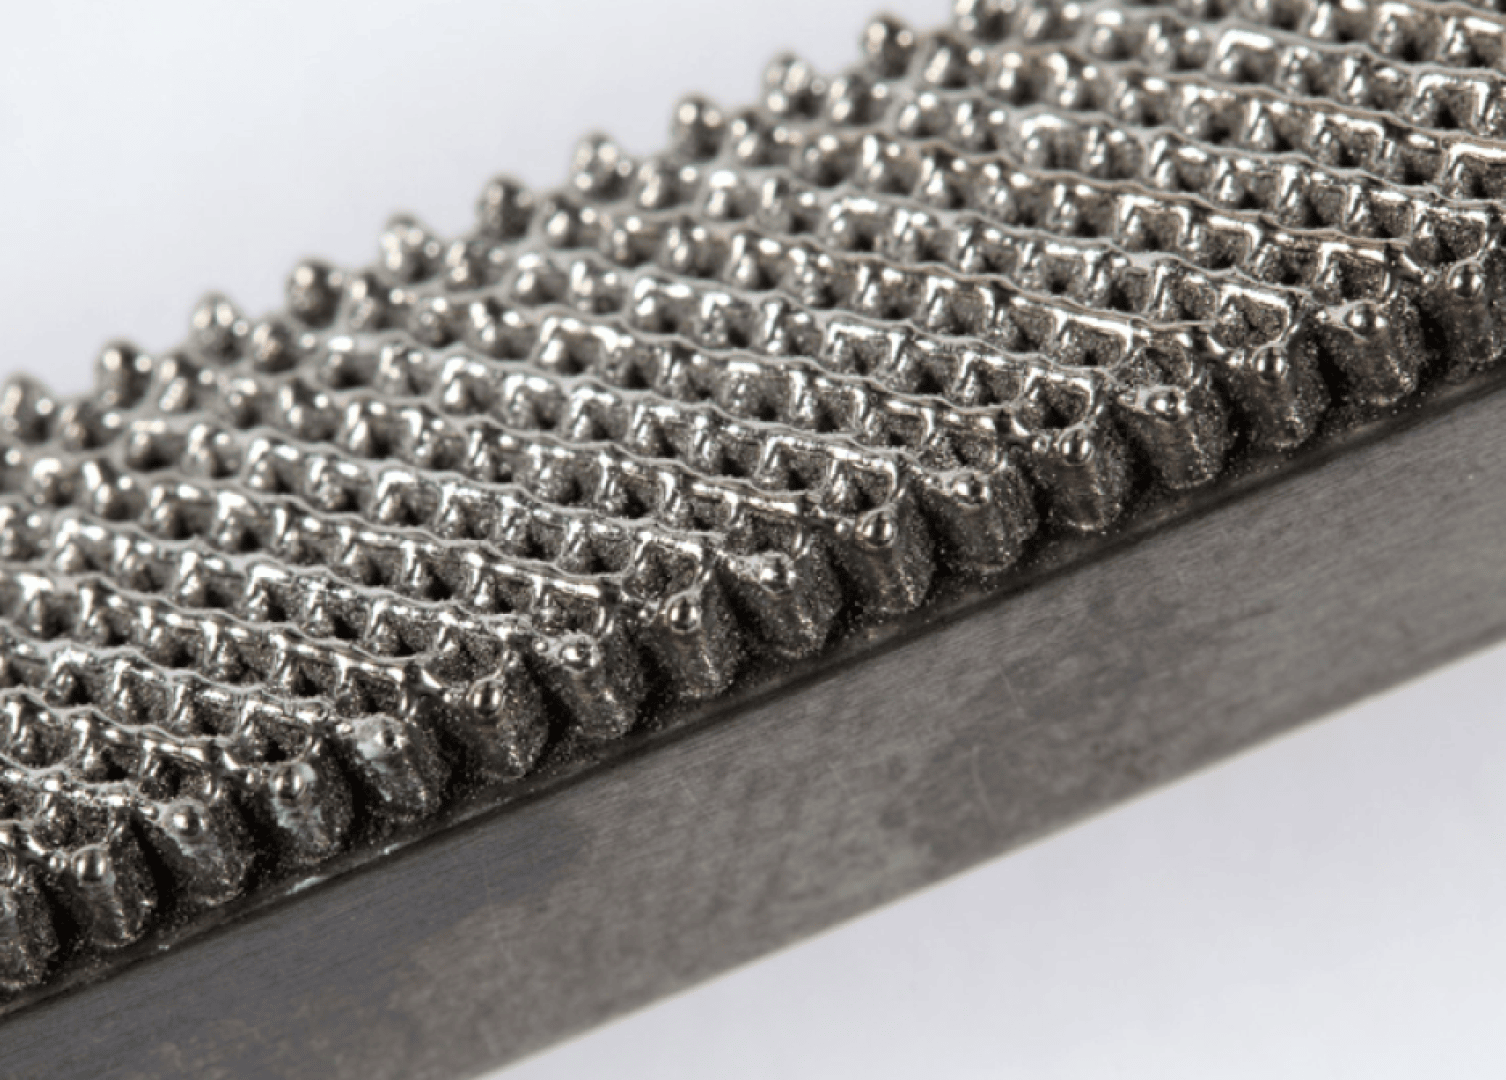
Additive manufacturing offers revolutionary possibilities such as “complexity for free.” However, the physical properties of layer-by-layer built components are often difficult to predict. RMS Foundation has been developing safety analyses for years to bring AM from lab to series production.
In AM, component quality is subject to complex interactions between the source material (usually powder) and the choice of production parameters. For this reason, specifically adapted analysis methods are necessary, which are generally not used within the framework of conventional component testing.
Design freedom requires precise control of the geometry. An extensive characterization of the source materials by means of powder analysis methods is decisive for the quality of the final products. Finally, a selection of non-destructive and destructive tests is required for a comprehensive qualification in relation to application-specific properties. This involves taking conventional and new process-specific standards and guidelines into account.
Geometry:
The high degree of design freedom in AM requires «additive thinking» on the part of the designer. Design principles developed for a specific AM process can form the basis for this. These are determined, for example, by experimental target-performance comparisons or by FE structural analyses.
Powder:
In many AM processes, a key factor is the flowability of the source powder. High-resolution AM processes require fine-grained, free-flowing powder particles for the formation of thin layers. However, dry and fine-grained powders exhibit poor flow properties due to interparticular adhesive forces. A detailed analysis of the multifactorially determined flow properties of the powders used is recommended, as they represent the core of the product quality.

A detailed powder characterization includes determination of particle size by sieving (vibration and air jet sieving) or laser diffraction, of the morphology by microscopic methods (e.g. SEM), of the crystalline structure (XRD), the chemical composition (XRF, ICP-MS, CGHE, EDX or FT-IR), the specific surface area (BET), the wetting and flow properties. We offer all analysis methodes described here.
Non-destructive tests:
Different tests are used to quantify the component geometry (optical and tactile tolerance analyses), the component surface (light, scanning electron and confocal microscopy) as well as the technical cleanliness (particle residue analyses, XPS, ICP-MS).
Destructive tests:
Thermal residual stresses as well as microcracks in AM components require a determination of the fatigue strength. The basis for dynamic tests is the corresponding static test. Possible failure mechanisms are analyzed by examination of the fracture surfaces, of the microstructure (incl. porosity) and by dye penetrant testing.


